
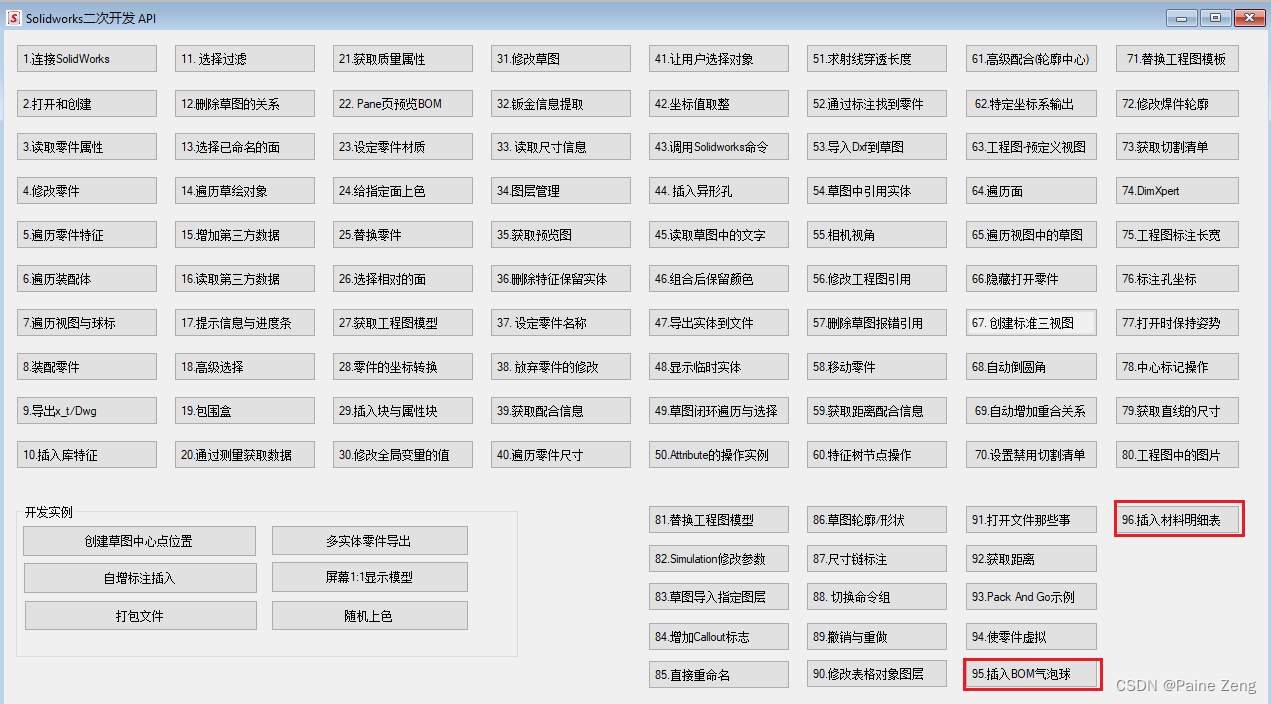
目标先到100,实在没什么好写的了,先把这两个简单的功能列一下吧。
private void btnInsertBalloon_Click(object sender, EventArgs e)
        {
            //插入对应的BOM气泡球  球标
            //操作步骤->选中视图,执行自动球标命令
            SldWorks swApp = Utility.ConnectToSolidWorks();

            ModelDoc2 swModel = (ModelDoc2)swApp.ActiveDoc;

            DrawingDoc drawingDoc = (DrawingDoc)swModel;

            //比如我们要在前面两个视图上标注球标

            var boolstatus = swModel.Extension.SelectByID2("Drawing View1", "DRAWINGVIEW", 0, 0, 0, false, 0, null, 0);
            boolstatus = swModel.Extension.SelectByID2("Drawing View2", "DRAWINGVIEW", 0, 0, 0, true, 0, null, 0);

            var autoballoonParams = drawingDoc.CreateAutoBalloonOptions();
            autoballoonParams.Layout = (int)swBalloonLayoutType_e.swDetailingBalloonLayout_Square; //球标排列形状
            autoballoonParams.ReverseDirection = false; //反转方向
            autoballoonParams.IgnoreMultiple = true;   //忽略多个
            autoballoonParams.InsertMagneticLine = true;  //磁力线
            autoballoonParams.LeaderAttachmentToFaces = true;  //箭头附加到面 还可以是边
            autoballoonParams.Style = (int)swBalloonStyle_e.swBS_Circular; //形状
            autoballoonParams.Size = (int)swBalloonFit_e.swBF_5Chars; //大小
            autoballoonParams.UpperTextContent = (int)swBalloonTextContent_e.swBalloonTextItemNumber;  //球标属性
            autoballoonParams.Layername = "-None-";
            autoballoonParams.ItemNumberStart = 1; //开始值
            autoballoonParams.ItemNumberIncrement = 1; //增量
            autoballoonParams.ItemOrder = (int)swBalloonItemNumbersOrder_e.swBalloonItemNumbers_DoNotChangeItemNumbers;
            autoballoonParams.EditBalloons = true;
            autoballoonParams.EditBalloonOption = (int)swEditBalloonOption_e.swEditBalloonOption_Resequence;

            var vNotes = drawingDoc.AutoBalloon5(autoballoonParams);
        }
材料明细表的插入
            //此处是介绍如何在工程图中插入BOM表(材料明细表)

            //bomTemplatePath: sldbomtbt结尾的BOM表模板路径

            //方法1: 用当前模型对象的扩展方法 只能通过坐标指定位置
            //https://help.solidworks.com/2018/english/api/sldworksapi/solidworks.interop.sldworks~solidworks.interop.sldworks.imodeldocextension~insertbomtable3.html
            //swModel.Extension.InsertBomTable3(bomTemplatePath, 0, 0, (int)swBomType_e.swBomType_PartsOnly,
            //    bomConfigName, false, (int)swNumberingType_e.swNumberingType_None, false);

            //方法2:用图的方法。 可以指定插入附加点
            //https://help.solidworks.com/2018/english/api/sldworksapi/solidworks.interop.sldworks~solidworks.interop.sldworks.iview~insertbomtable4.html
            //thisView.InsertBomTable4(true, 0, 0, (int)swBOMConfigurationAnchorType_e.swBOMConfigurationAnchor_BottomLeft, (int)swBomType_e.swBomType_PartsOnly,
            //    bomConfigName, bomTemplatePath, false, (int)swNumberingType_e.swNumberingType_None, false);
具体不多说了,api 帮助示例自带的东西。
源码位置
https://gitee.com/painezeng/CSharpAndSolidWorks